The Proxifier settings located in the menu are collectively referred to as a profile. This includes , , , and others, but the settings available under the and menus are not included in a profile. These mostly represent settings related to the Proxifier user interface and appearance.
Proxifier automatically saves the current profile (without prompting) after any change. You can save the profile with a specific name by using and load it later with . The name of the active profile is displayed in the title of the main window.
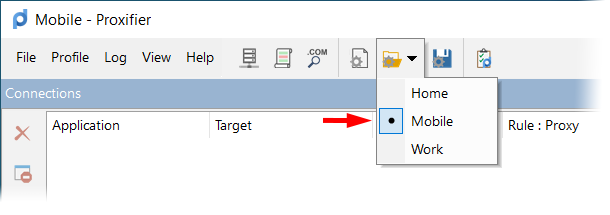
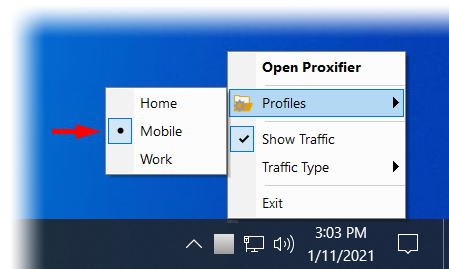
You can easily navigate and load profiles with the toolbar button or the context menu of the system tray icon.
To import or export a profile from/to a file, use the menu’s and commands, respectively. With , you can import settings from older versions of Proxifier (.prx files). You can also manage profiles as files using the command.
Proxifier profiles are user specific. Each user account on the computer has a distinct set of profiles, but it is possible to specify a global profile for all users on the computer. To do this, simply export the profile as Default.ppx () and place it in the
Proxifier checks these paths on start-up. If there is a Default.ppx file, it loads automatically.
Proxifier uses XML for profile files. The format is human readable and self-explanatory.
You can edit the content with any third-party tools and scripts.
You can load a profile via the command line using the following command.
If Proxifier is not running, it will be started with the specified profile. If Proxifier is already running, the profile will be loaded into the running instance. To load a profile silently (without a user prompt), use the silent-load flag.
Profiles can contain passwords for proxy servers. To protect this information, Proxifier supports encryption. You can change the encryption options at . The same settings are requested anytime you use .
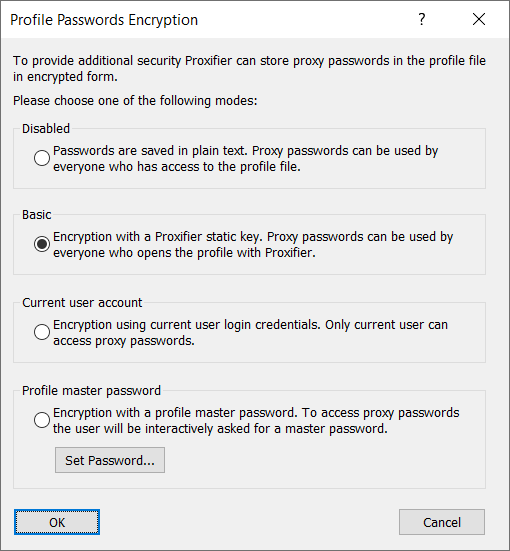
The description of each option is shown in the dialog window above.
For , Proxifier uses the standard Windows Data Protection API (DPAPI).
When is selected, Proxifier uses it as a key for AES 256 bits encryption and requests the master password each time the profile is loaded (including at start-up).
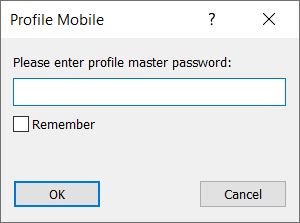
You can save this password in the current user account by ticking the checkbox.
Proxifier will not load the profile until the correct password is provided. Please consider this if you intend to use Proxifier in unattended mode (e.g., with the autostart feature or in the service mode).
If you enter an incorrect password, Proxifier will ask you to try again or load the profile with blank passwords.