Quick Start
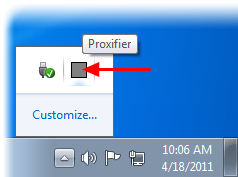
Install and launch Proxifier. The Proxifier icon showing traffic (information flow) will appear on the system tray. On Windows 7, the icon can be hidden.
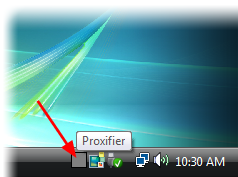
Double click the system tray icon to open the main window of the program. Alternatively, you can start Proxifier again from the start menu and the existing running instance will be detected and will activate the main Proxifier window.
By default, Proxifier is configured to bypass all network connections. You can still see connections and DNS requests if you enable verbose output Log->Output Level->Verbose.
Proxifier can process the connection directly (without a proxy server). To enable this mode, set Profile->Advanced->Handle Direct Connections. It can be useful to troubleshoot problems and utilize some features of Proxifier like traffic dumps, bandwidth and connection monitor, etc.
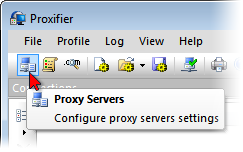
To make the connections work through a proxy server or a chain of proxy servers, you must first define a proxy server in Proxifier. Click Proxy Servers... in the Profile menu or click on the icon located on the toolbar:
|
WARNING!
If you were using proxies before you installed Proxifier you should disable any built-in proxy settings. Your applications should then be configured to connect “directly” to the Internet (rather than through proxies). |
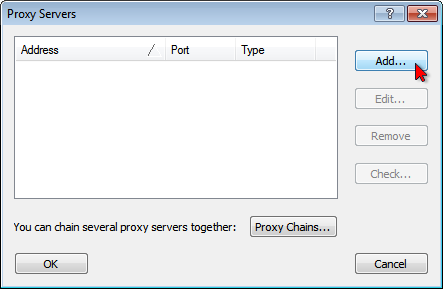
Click the Add button in the new dialog window:
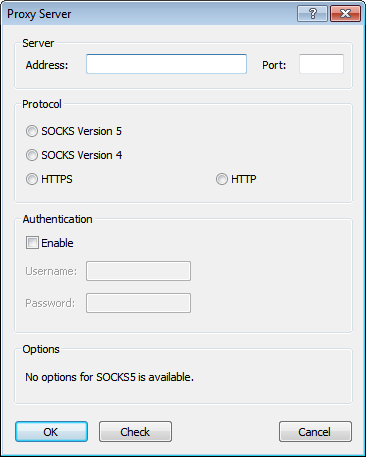
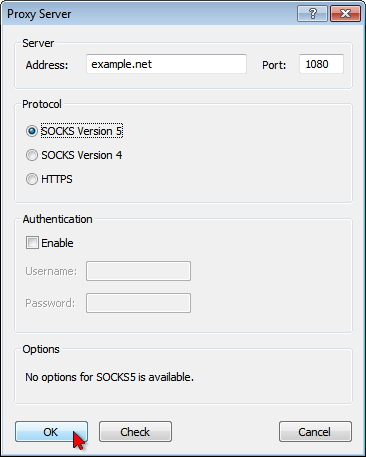
Fill in the form specifying the details of the proxy server (address, port, protocol, etc.) that you want to add and click OK:
Proxifier will ask you whether or not you want to use this proxy by default. Click Yes to set it as the target for the Default Proxification Rule. You can change this anytime later at Proxification Rules.
Your proxy server will appear in the list, click OK to confirm the use of this server:
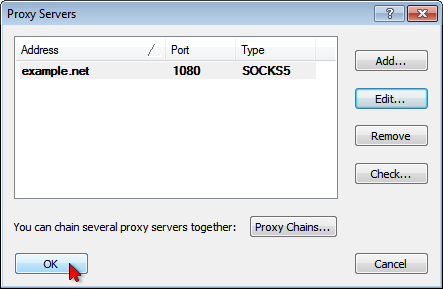
From now on all new connections (TCP/IP) will be established through the specified proxy server while Proxifier is running.
If you only want to tunnel specific connection, not all of them, use Proxification Rules and/or Manual Proxification Mode.
By default, Proxifier gets minimized to the System Tray when you close its window. You can change this behavior at View->Icon in the System Tray.
To exit Proxifier when the System Tray icon is enabled right-click on the icon and select Exit.
To make Proxifier start automatically on user login, enable File->Autostart option.